
 Electricals
 Coffee
 Mixers and Blenders
 Kettles and Toasters
 Cooking
 Small Appliances
 Cookware & Bakeware
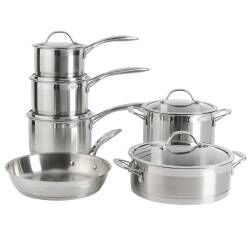
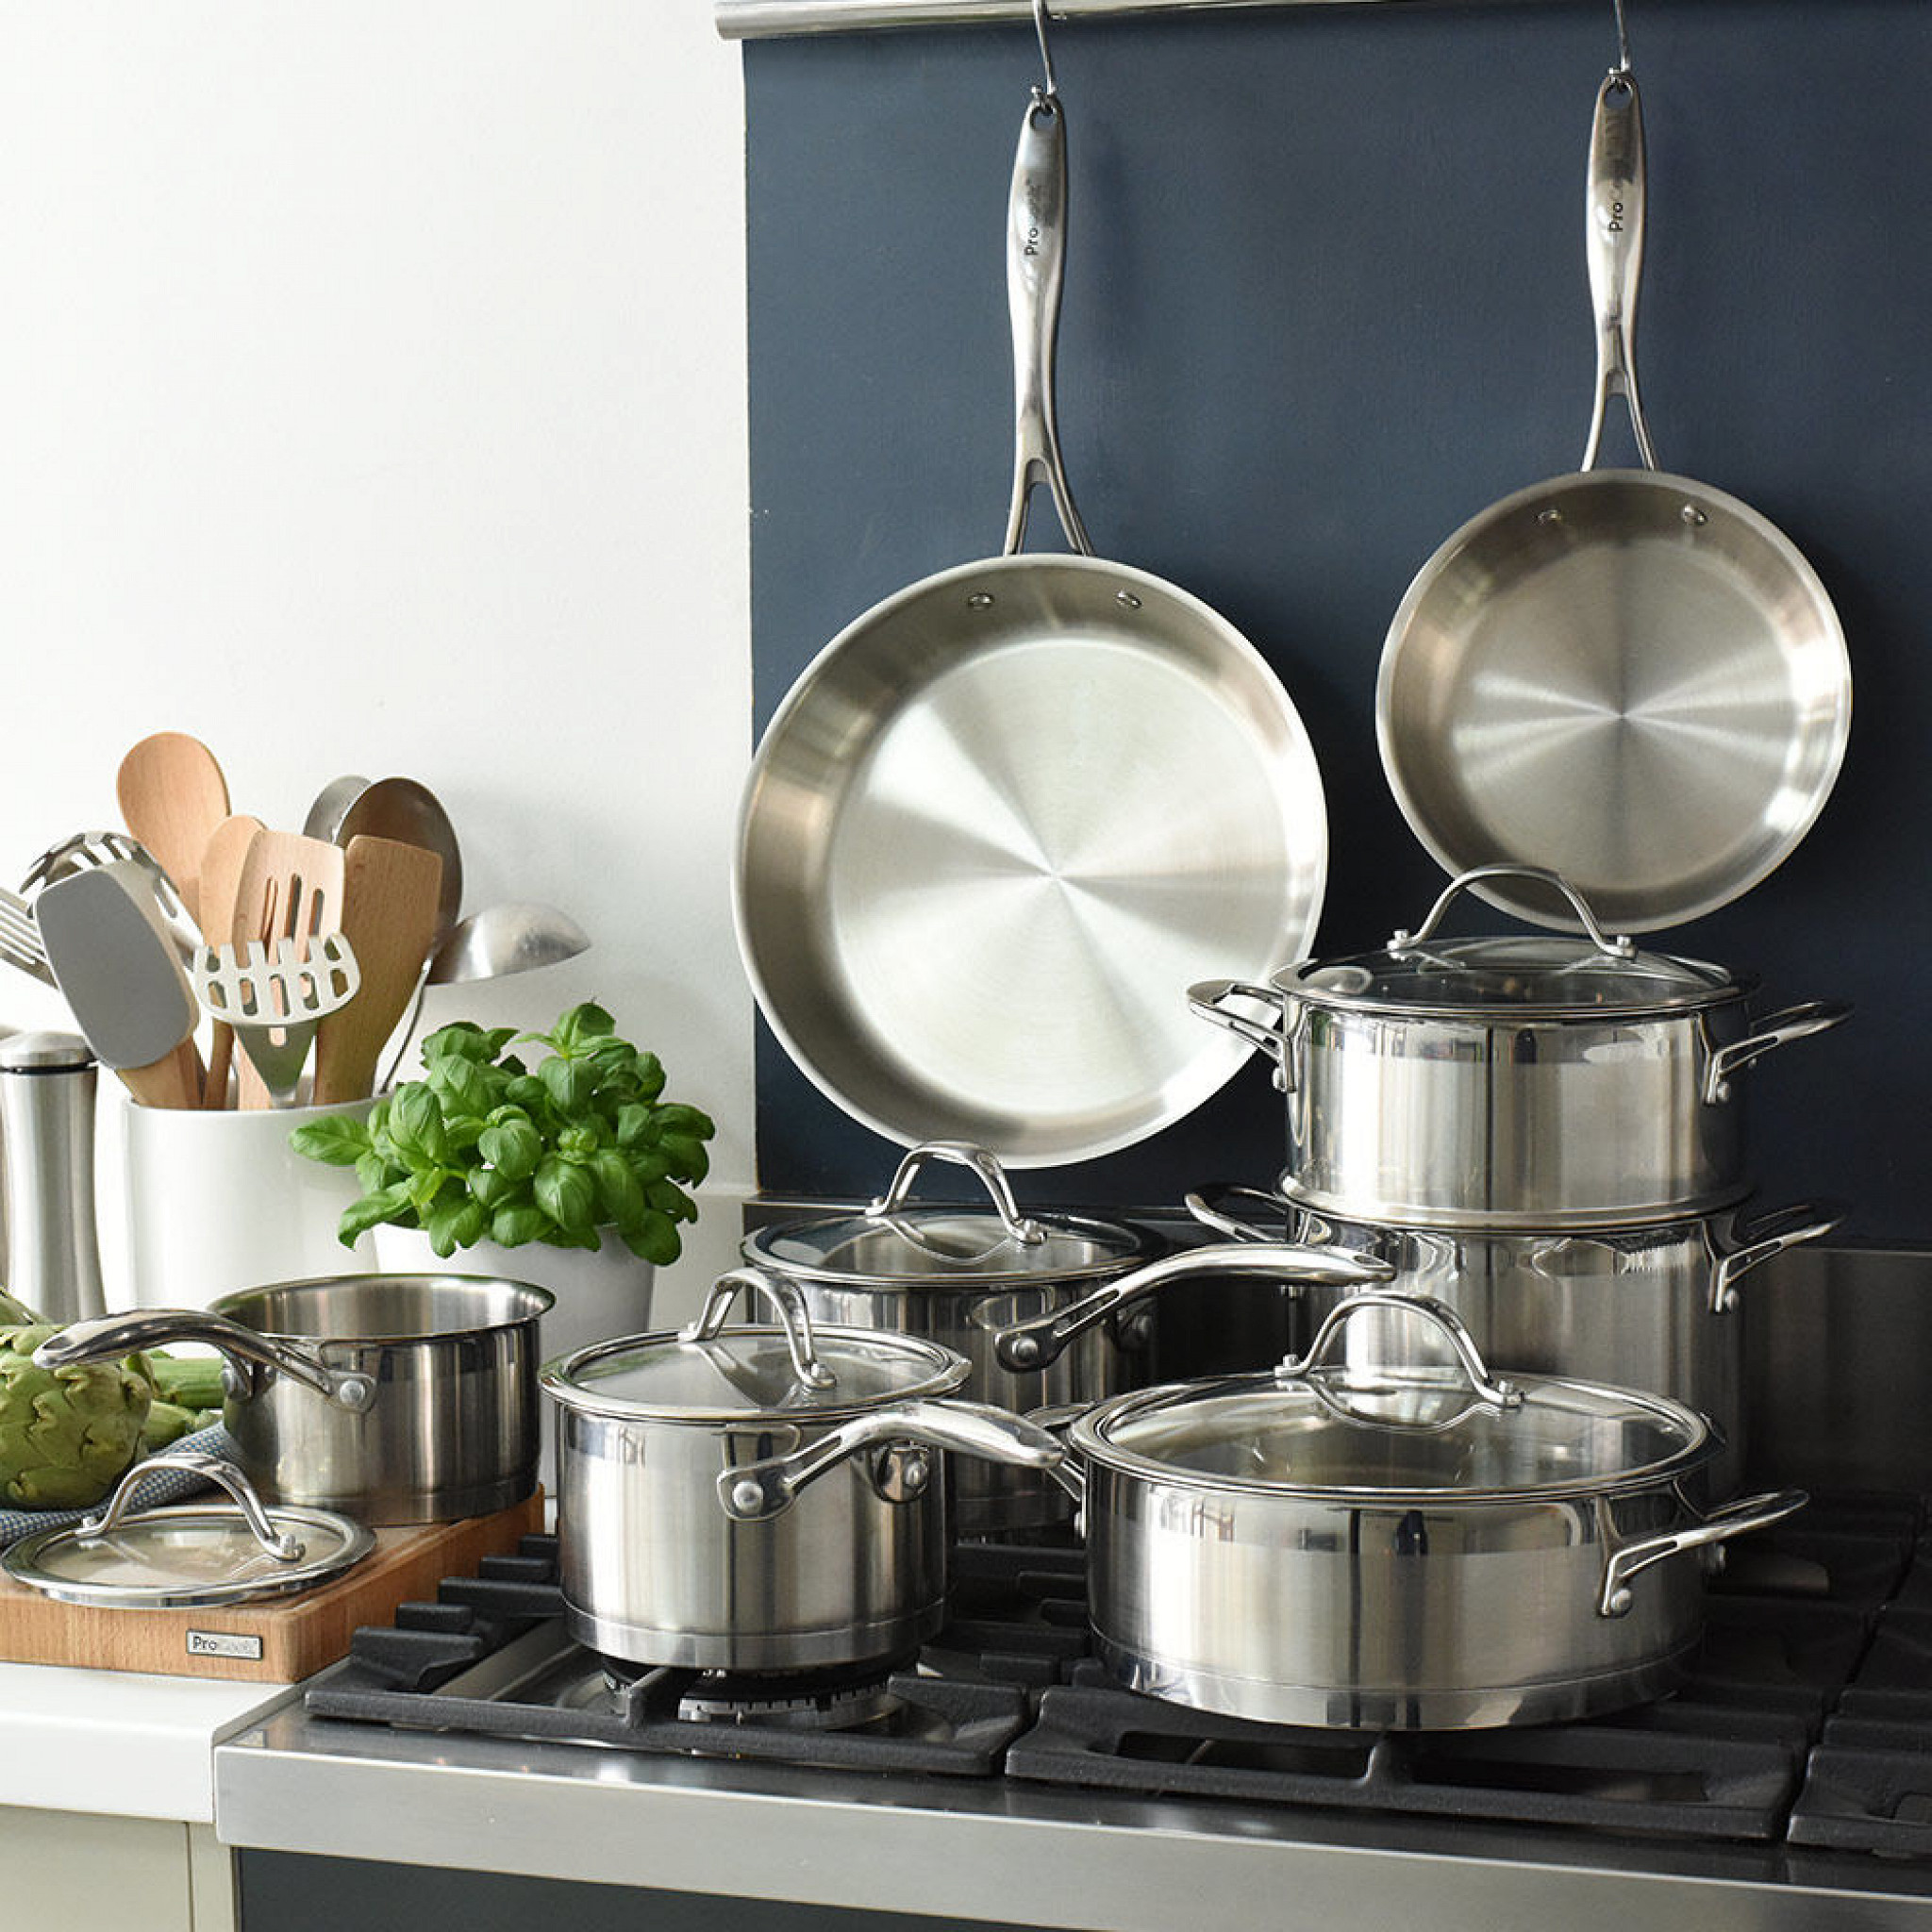
 Pots and Pans
 Speciality Cookware
 Baking
 Roasting
 Knives
 Knife Sets
 Single Knives
 Knife Accessories
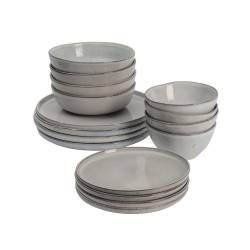
 Tableware
 Single Items
 Serveware
 Table Accessories
 Outdoor Dining
 Drinkware
 Hot Drinkware
 Cafetieres and Teapots
 Drink Accessories
 Accessories
 Kitchen Utensils
 Tools and Gadgets
 Storage
 Cleaning
 Summer desserts and baking
 Gifting
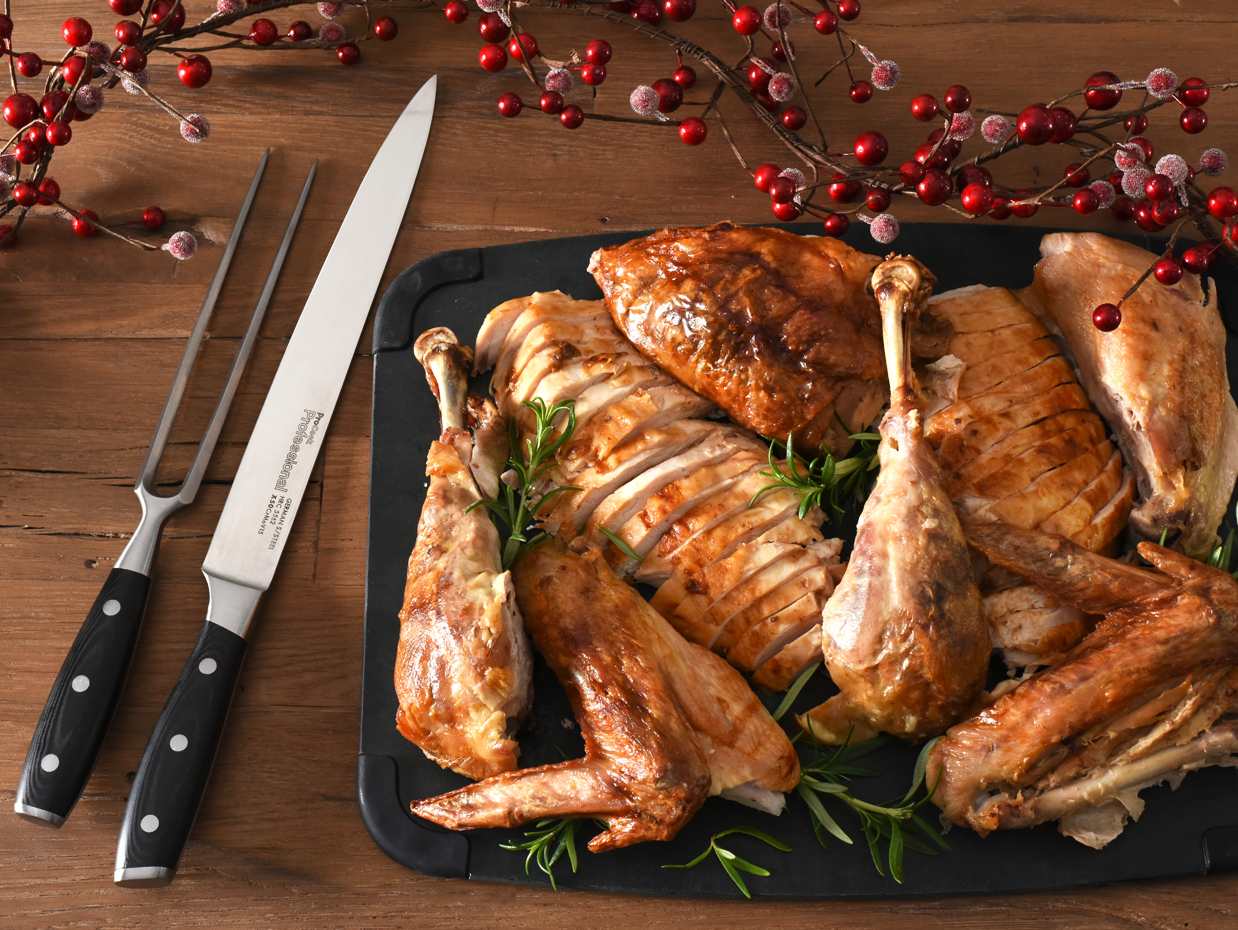
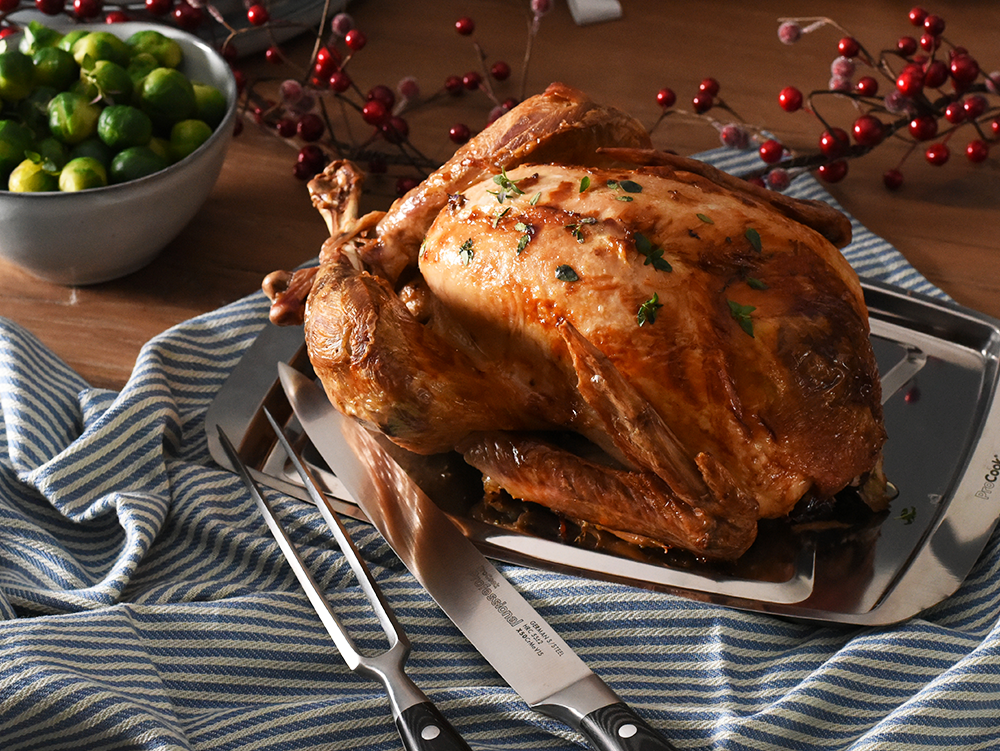
Ever looked at a whole roast chicken to carve and found the prospect daunting? If you're wondering how to cut a chicken, then you may be contemplating where to start and how to carve through a whole chicken. Once you know the best way to carve a chicken, the process is rather easy and can make your roast dinners much more appetising and impressive.
All you need is a carving knife and fork, a stable carving board and a plate to serve. Here's our quick and easy guide on how to carve chicken.
What Do I Need to Carve a Whole Roast Chicken?
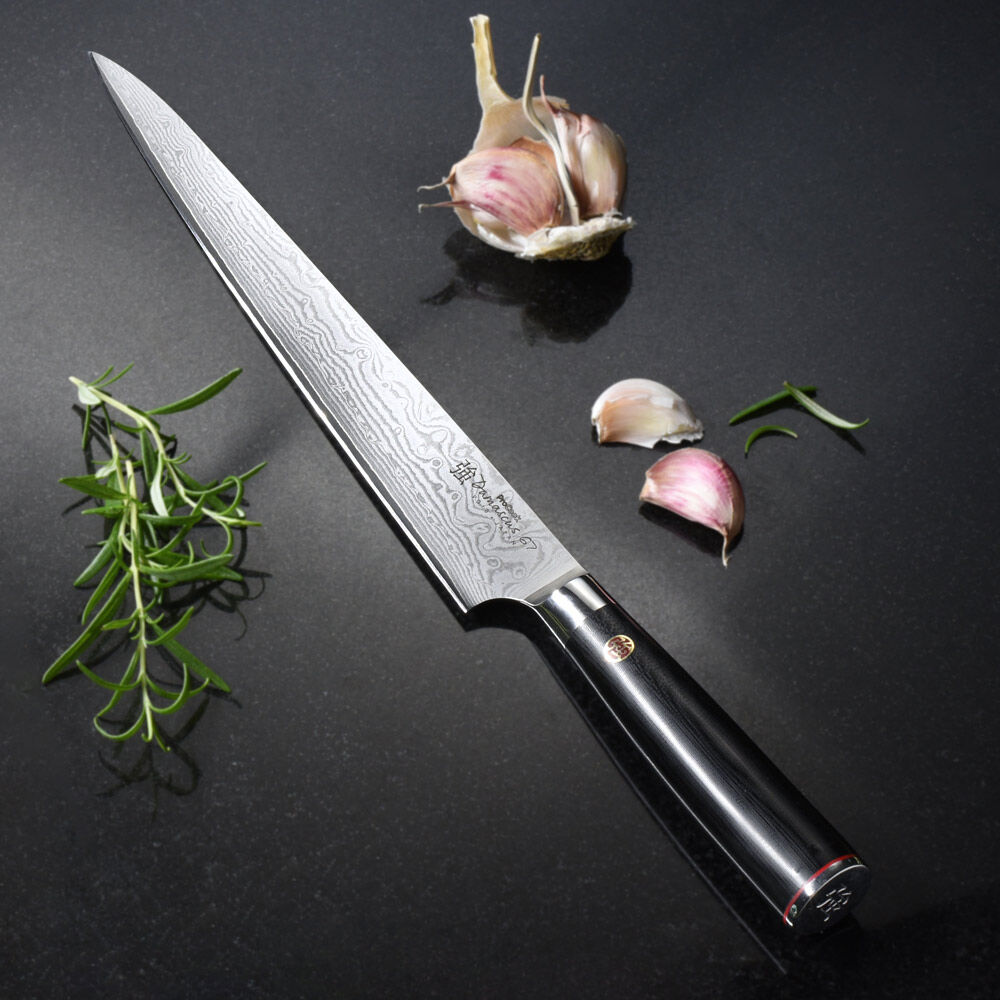
If you're a fan of roast dinners and enjoy hosting them, then you're probably an owner of a carving set already. Although a large, sharp kitchen knife may be good enough to cut through pieces of meat, a dedicated carving knife and fork can make carving much easier and help you achieve much more presentable slices of chicken, beef, pork, lamb, or turkey.
A lot of pressure is needed when cutting through a whole roast chicken. Not only does a carving board or tray provide you with a hygienic place to carve, but it also keeps the chicken in place, reducing the chances of slippage.
TIP:
Although a dedicated carving knife can cut through a whole roast chicken, a boning knife is also recommended as it'll provide greater control and precision when cutting close to the bone. The curved blade of a boning knife makes it easier to cut around joints and bones, making them ideal for poultry, meat and fish.
How to Carve a Chicken: Step by Step Guide
Before you start carving the chicken, allow your roast chicken to rest in the roasting pan for 10-15 minutes after it's cooked. This only applies to those who have roasted a chicken at home - if you've bought a rotisserie chicken from a store, there is no need to rest the chicken before carving.
Step 1: Place the Chicken on the Carving Board
Place the whole chicken on the carving board with the breast facing upwards. Hold the body at the breatbone area with the carving fork and use the knife to slice the area between the thigh and the body.
Step 2: Pull Back the Chicken Leg
Once you've made the first cut between the chicken's leg and body, pull the leg further back to expose the hip joint. Keep pulling back the chicken's leg until the round end of the hip bone appears. Use your carving knife to cut and separate the leg from the body by placing it between the round end of the hip bone and the chicken body - a lot of force may be required to make the separation.
Step 3: Separate the Chicken Leg and Thigh
To separate the drumstick with the thigh, place the knife where the two would naturally separate and forcefully push straight down. Once separated, place the leg and thigh on your serving platter before repeating the process with the other leg.
Step 4: Remove the Breast Meat
Place your carving fork into the top of the chicken to hold it still while you make a long cut horizontally near the base of the chicken. Once these cuts have been made, slide your carving knife along one side of the centre breastbone, moving from front to back. While slicing, simultaneously pull the breast meat away from the bone. Repeat with the remaining chicken breast.
Step 5: Slice the Breast Meat
Place the breast meat skin-side up and remove the chicken wing. Use a saw-like motion to cut the meat into smaller portions and repeat with the other breast meat.
Step 6: Serve to Your Guests on a Platter
Place the wings, thighs, drumsticks, and sliced chicken breasts on a platter and serve. Carefully overlap the chicken slices to help keep the chicken warmer for longer.
